Knowledge base
Resources
Videos and screenshots for Xero
Step-by-step screenshots of the whole flow, and short videos of the parts people ask about most: registering, mapping suppliers, editing line items and approving a bill run.
Step by step · 19 steps
Registering and running your first bill batch
The whole path, from creating an account to seeing the bills land in Xero.
Prefer to read it?
Step 1. Choose the region your Xero organisation is in

Step 2. Create an account

Step 3. Fill in the registration form

Step 4. Sign in with your Xero credentials

Step 5. Authorise Cosmic Bills in Xero

Step 6. Choose the organisation to connect

Step 7. Confirm the connection

Step 8. Finish setup

Step 9. Start scanning

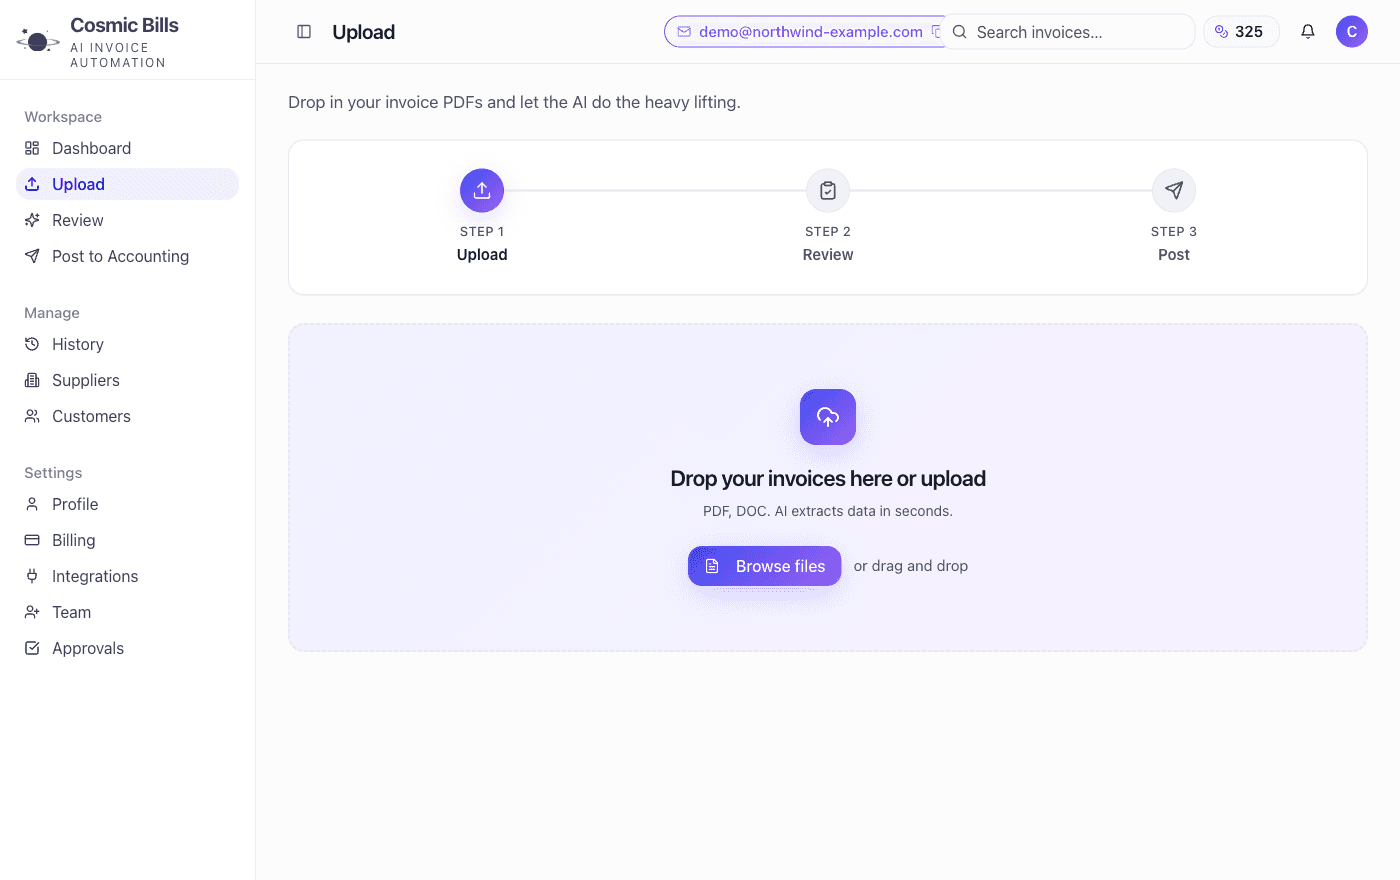
Step 10. Upload your bills

Step 11. Watch them process

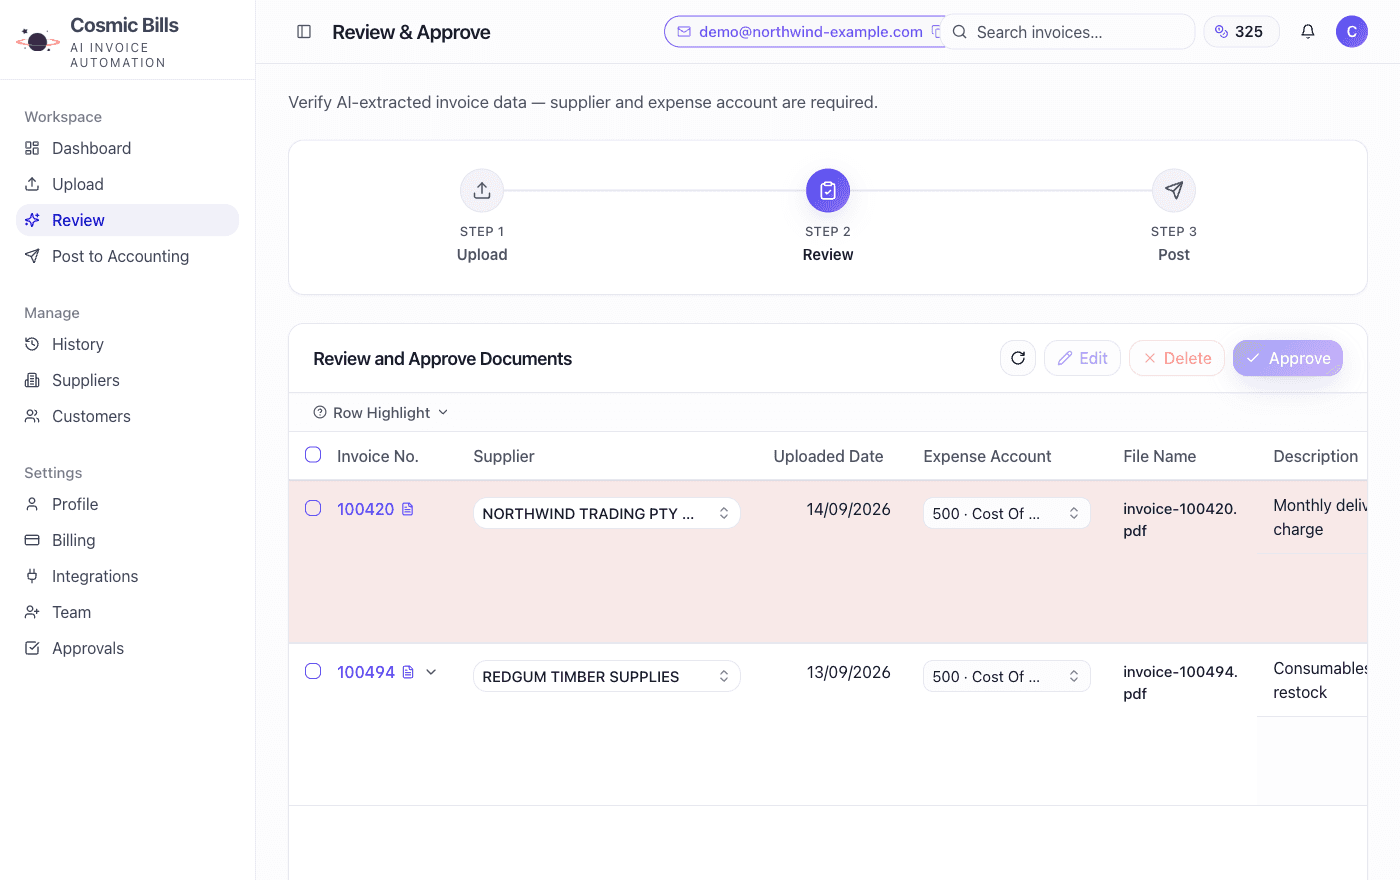
Step 12. Open the review and approve tab

Step 13. Edit or modify your bill lines

Step 14. Preview the original PDF and compare

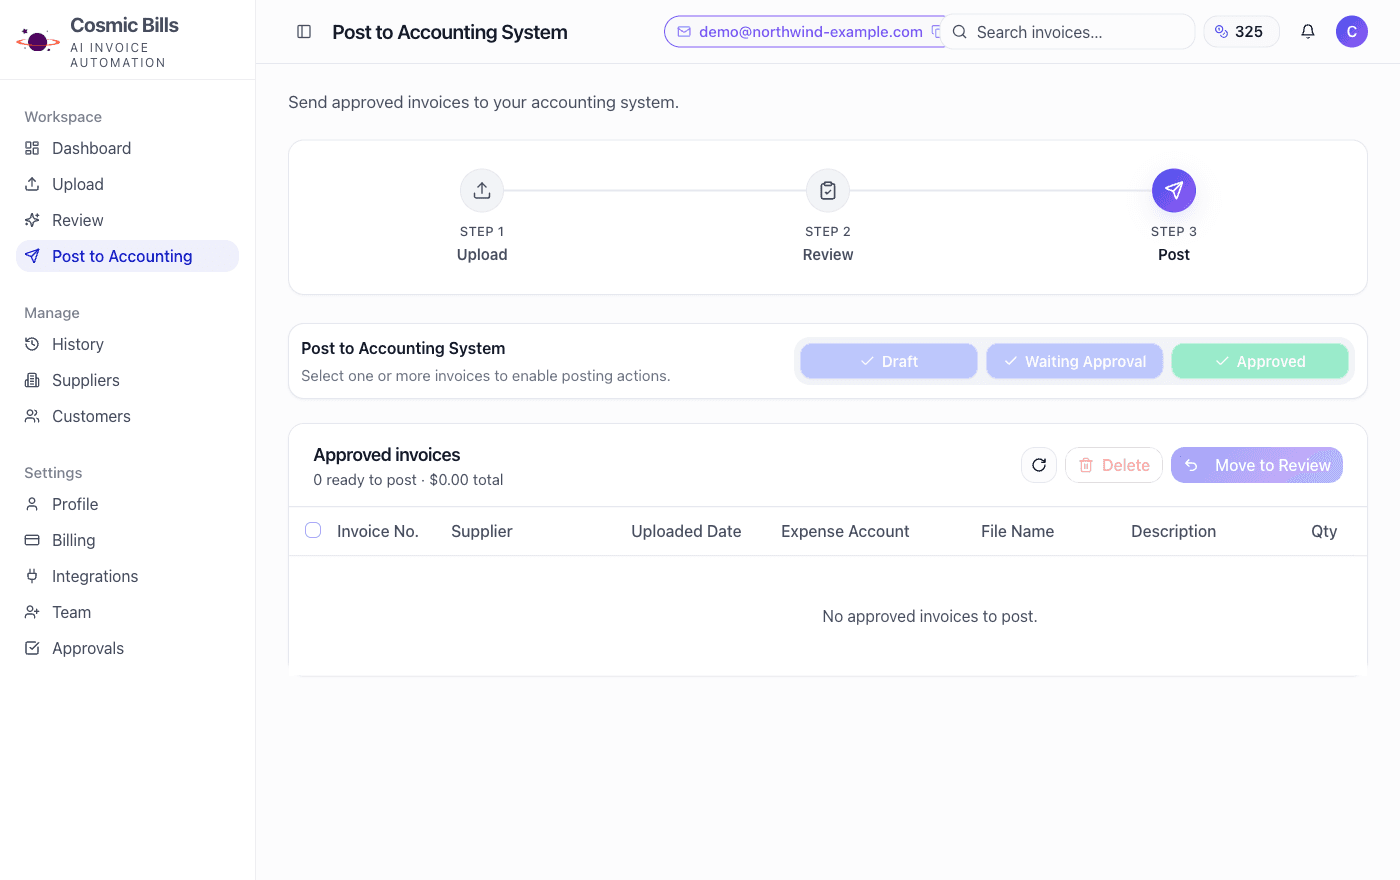
Step 15. Select some or all bills to send to Xero

Step 16. Choose how the bills should post
Draft, awaiting approval, or approved.

Step 17. Check the success response

Step 18. Find everything under scan history

Step 19. See the bills in Xero

Step by step · 4 steps
The approval process in detail
How a scanned bill moves from extracted to approved and posted.
Step 1. Open the bill for review

Step 2. Check the extracted lines against the document

Step 3. Correct anything that needs it, and save

Step 4. Approve and post

Step by step · 3 steps
Mapping suppliers to your chart of accounts
Every supplier starts on Cost of Goods Sold until you map it. Mapping your busiest suppliers once removes most of the recoding from every bill run afterwards.
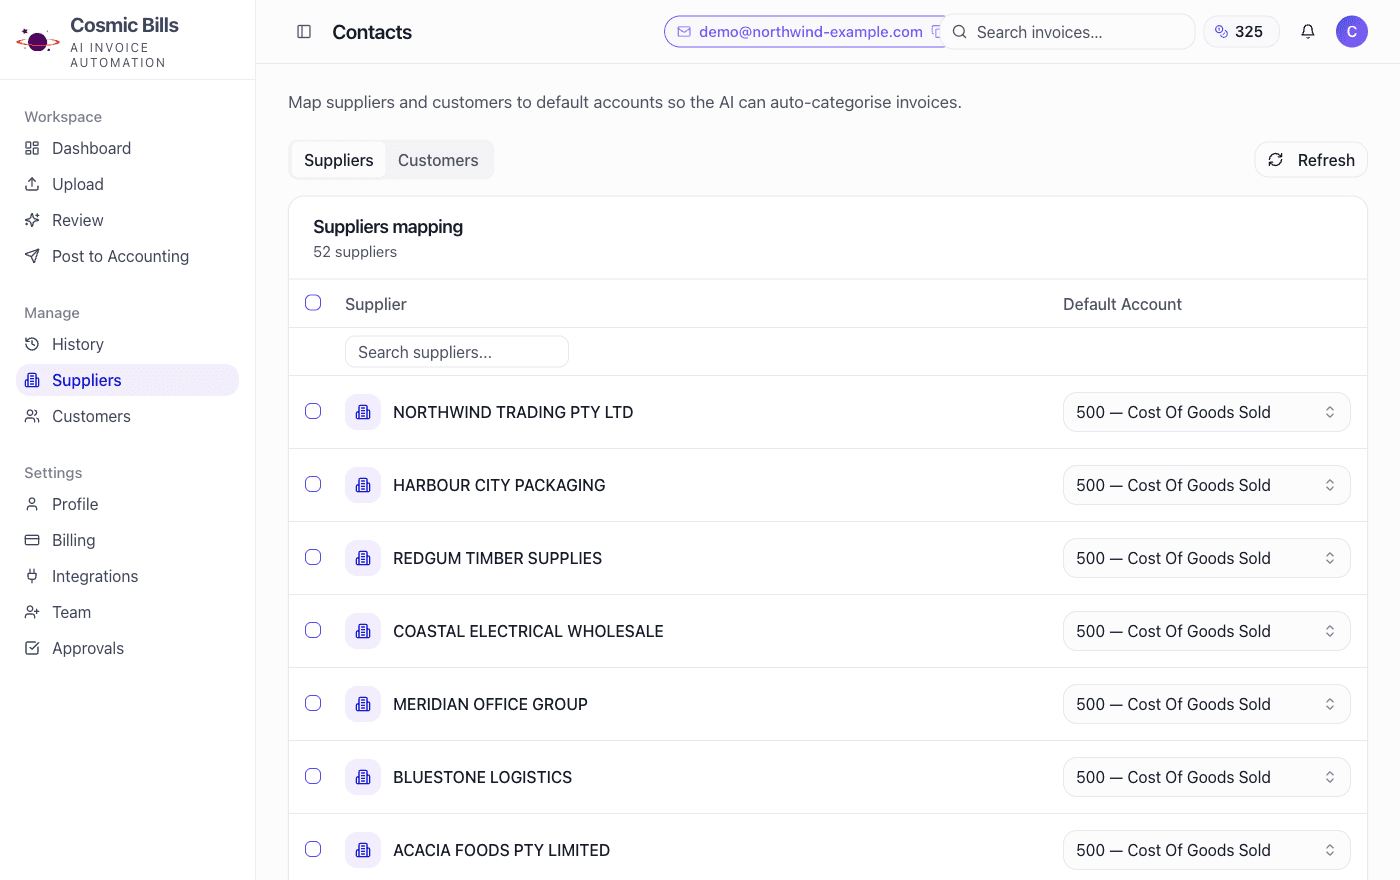
Step 1. Open supplier and chart of accounts mapping

Step 2. Search for the supplier

Step 3. Select the account code it should use

Tutorials
Watch how it works
Nine short walkthroughs, the same set as the current site.
How to register Cosmic Bills to a Xero data file
Connecting Cosmic Bills to a Xero organisation for the first time.
How to register Cosmic Bills to a Xero data file (newer version)
An updated walkthrough of the same registration flow.
How to register Cosmic Bills to a Xero data file
The registration walkthrough used on the regional Xero pages.
How to map suppliers into a chart of accounts for Xero
Setting the account code a supplier's bills should code to.
How to map suppliers to a chart of accounts
Supplier mapping, covered in more detail.
How to edit bills in detail and manage duplicated bills
Working through the review screen, and what happens with duplicates.
How to split line items and add another line item
Turning one line on an invoice into several, and dividing the cost.
How to do product mapping
Mapping product codes on your bills to the accounts they belong to.
How to approve your bills, the easy and simple way
The approval step, and choosing which bills to post.
How to send bills by email from a phone or PC to Xero
Getting documents into Cosmic Bills without opening the portal.
Understanding Cosmic Bills
Why accounts payable is worth automating
Accounts payable is a necessary function of any medium to large business. When there are a lot of bills and each one carries multiple line items, entering them by hand is slow, repetitive work — and the effort grows with the number of lines rather than the value of the invoice.
Automating the capture step changes what your team spends its attention on. The routine bills handle themselves; the ones that need a decision are what people look at.
Cost
A cost-effective accounting solution
Accounts payable is an important and time-sensitive requirement for any growing business. Reducing the effort it takes reduces its cost, and frees the same people for reconciliations, supplier queries and month-end work.
Start on the free plan and put a real bill run through it before you decide. See the plans.
Next
Where to go from here
Platform
Cosmic Bills for Xero
Platform
Cosmic Bills for Reckon
Stop retyping supplier bills
Start on the free plan, connect Xero or Reckon, and process your first bills today.